This post created by Hello Glow was sponsored by Martinelli’s. It was originally published on Hello Glow on June 4, 2017.

You say: “Party,” I think: cheese board. It’s just the way my brain works. But let’s be honest, a well-laid cheese board is always going to be a popular thing. Always. Learning how to build an epic cheese board isn’t hard–the combinations of cheese, carbs, fruits + veggies, etc., are seemingly endless. It’s all a matter of choosing items that complement each other, as well as having plenty of cold drinks on hand, like Martinelli’s sparkling juices.
Here’s why you need a cheese board at your party. Cheese boards are:
Beautiful and fun
A great way to encourage conversation
Easy to change up according to season or occasion
Always a crowd-pleaser (because: cheese!)
Good for starters or as a light meal – don’t need plates and flatware, can be eaten standing up, etc.
How To Build an Epic Cheese Board
I’m going to show you how to build an epic cheese board that will be the talk of the party and memorable too.
Selecting The Cheese
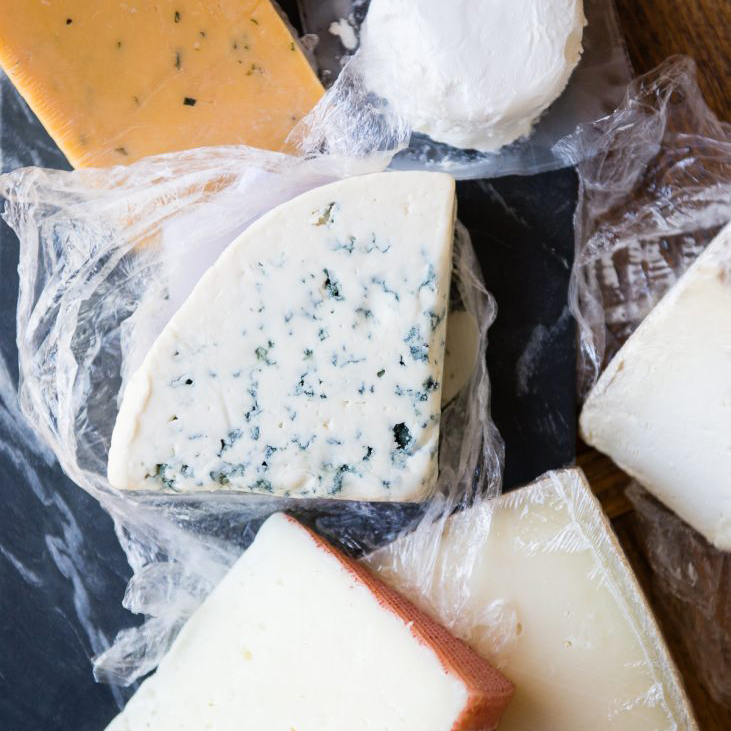
An amazing cheese board starts with the cheese, obviously. The rule of thumb I’ve always followed is easy to remember with a little rhyme: something old, something new, something funky (or goat), something blue. From there, it’s easy to break out of tradition and go with what you like best. The key is a good variety.
Pick a theme. This could be one kind of cheese; for example, cheddars from around the globe. And in that case, you’d choose between 4-6 cheeses and not worry about the “something old, something blue” rhyme. Another great option is to choose cheeses by a region. Example: Spanish cheeses and accompaniments. Or maybe you want to forego a theme all together and rely on whatever cool cheeses you find. Don’t be afraid to pick a few safe options and a few new, adventurous ones.
Pro tip: if you’re unsure which cheeses to buy, go to a store with a dedicated cheesemonger. They love talking cheese and will help you pick out cheeses to your personal tastes and may suggest one that becomes a favorite. (Cheesemongers make awesome friends, by the way.)
My go-to cheeses for a varied board are:
Aged cheddar: usually a raw or local one (something old)
Fresh goat cheese: chevre (something new)
A blue cheese: whatever looks good; usually stilton, maytag, or gorgonzola
2-3 others that look good including: something funky and fun; smoked cheese, gouda, rubbed with herbs or coffee grounds, soaked in wine, a good Swiss-style cheese, or a small wedge of something really expensive (ha!)
The rule of thumb when figuring out how much cheese to buy is to plan on 4 ounces per person; 2 ounces for children. If the cheese is its own course and will be followed by a full meal, you can plan on a little less.
But above all else, remember: You can create a cheese board with cheeses that you love. You don’t have to stick to any rules. If you hate blue cheese, don’t add it to your board. Or if you really, really love blue cheese, have a couple of different options. Totally up to you!
Plenty of Cold, Fruity Beverages
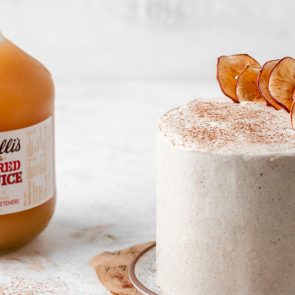
My go-to beverage for a cheese board is always going to be Martinelli’s Cider. I grew up drinking Martinelli’s, and we drink it in our house now. It’s just a given. The crisp flavors of the Sparkling Cider and other sparkling juices are just the thing to go with a cheese board. They are family friendly, which is important when there are cheese-loving kids around, and they taste great because they’re 100% juice made from U.S. grown fresh apples with no chemical preservatives or sweeteners. They’re a staple for every summer celebration we have. Learn more here: Martinelli’s official website
Pairing cheese and Martinelli’s is easy because there are so many varieties to choose from. The crisp, clean flavor of the sparkling cider and juices helps cut the richness of the cheese. The Sparkling Red Grape goes well with blue cheese, and I love the Sparkling Apple-Peach and Sparkling Apple-Cranberry with the creamy goat cheese and Brie. The saltier cheeses, like the Manchego, are splendid paired with the Sparkling White Grape and Sparkling Apple-Pear, which are fruity, sweet, and extra crisp in flavor.
Fruits + Veggies
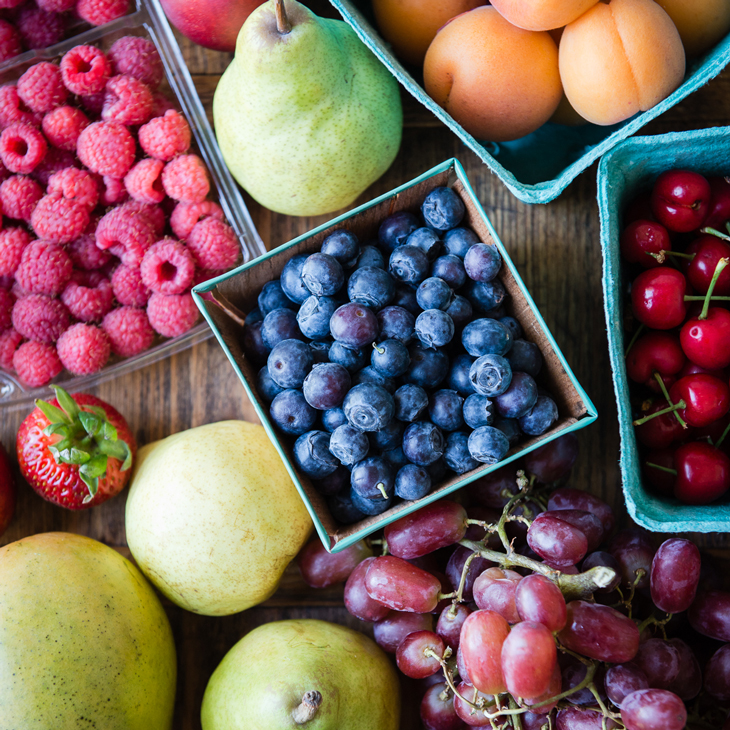
The most natural and most delicious accompaniment to cheese is fruit; fresh or dried. I love to include an array of seasonal fruits, which is great for a summer cheese party–so many options! Berries, apples, pears, and grapes are my favorite. Stone fruits are wonderful, too, but don’t overlook adding melon or tropical fruits to change things up. Including both fresh and dried fruits adds loads of texture options–crisp, juicy, and chewy–yum!
Veggies are great to include as well for even more fresh flavor. Cucumbers, celery and carrot sticks, asparagus, tomatoes, broccoli, cauliflower, bell peppers, etc., are wonderful and help cut the richness of the cheese. (See the pickles below.)
Nuts + Dried Fruit
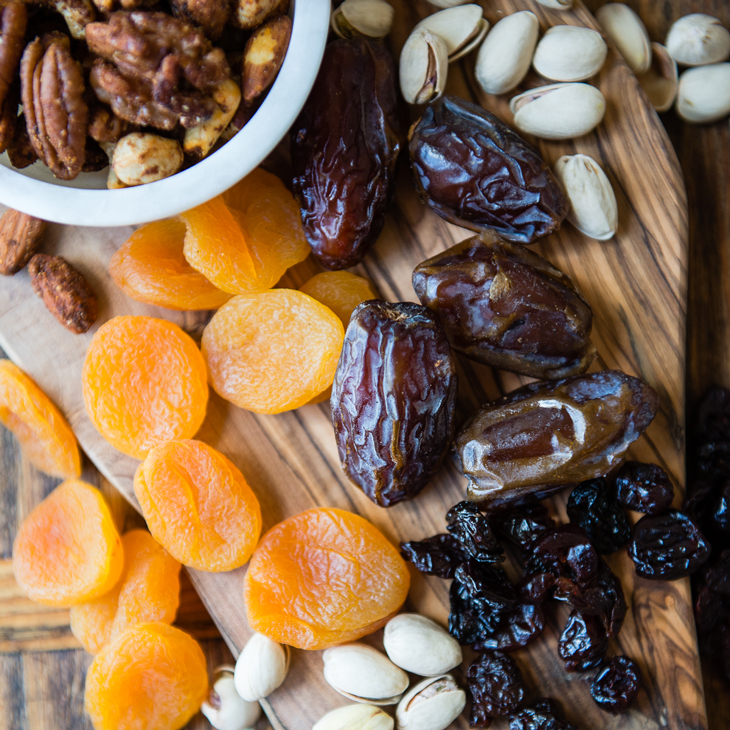
Raw, roasted, salted, candied, and everything not covered by those other categories is welcome on any cheese board I’m creating. I love having something crunchy.
Preserves, Pickles, + Spreads

For me, a good cheese board needs some pickles or preserves on it. Homemade jam is killer with cheese. We love, love, love membrillo (quince paste) or guava paste with salty cheeses like ricotta salata or Manchego.
If you want to go the salty, vinegary route, you can’t go wrong with a classic dill pickles or cornichons, but there are other pickles too! Onions, asparagus, cauliflower, peppers, and on and on. The tangy vinegar helps cut the richness of the cheese, but more importantly, they are just plain delicious. And olives are another must-have.
Other fun things: grainy mustard, chili jam, mango chutney, lime pickle, preserved lemons, honey, and honeycomb.
Meats
While not 100% necessary, I usually include a few preserved meats to accompany a cheese board. The saltiness goes well with the cheese and fruit, and they look pretty too.
Don’t Forget the Crackers, Gromit!
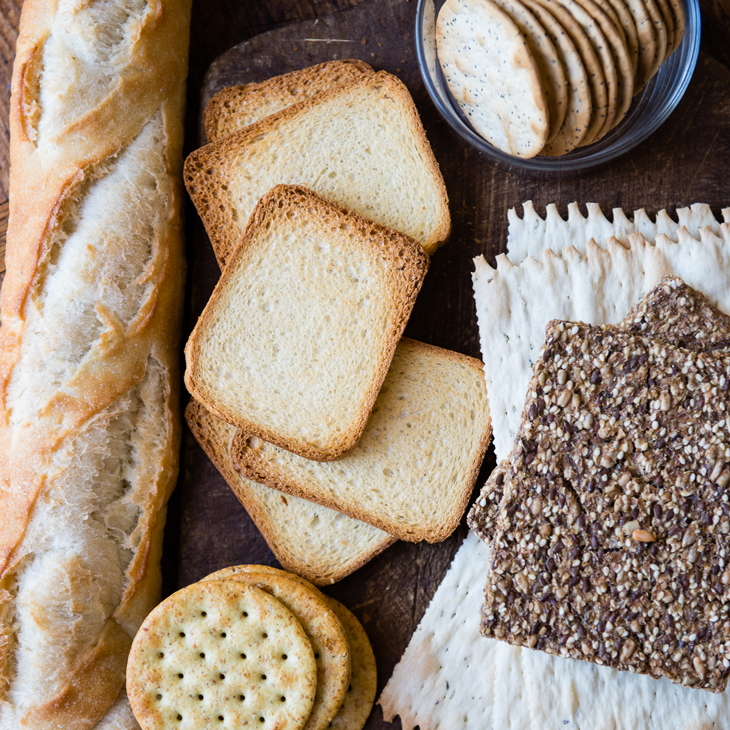
Crackers are a natural cheese board addition. But don’t be afraid to branch out from there as well. Crunchy breadsticks, mini toasts, fresh baguette slices, rusks, etc., make for wonderful vehicles to smear (liberally) with cheese or enjoy on the side.
Arranging and Building – Like a Work of Art!
Choose a board that will be large enough for the cheeses and the accompaniments. Or use a few smaller ones to help break things up, which is especially good for a buffet for a crowd. I like big, vintage wooden bread boards. They look stunning when filled with cheeses, crackers, and fruit. And the are easy to clean up after the party.
Traditional cheese boards include marble, ceramic, and slate, which help keep the cheeses from getting too warm. I’ve also used cake platters which add great height and variation to a buffet table.
By the way, you’ll want to plan on taking the cheeses out of the fridge, unwrapping, and letting them come to room temperature for 30-60 minutes before serving. They need to breathe, but lightly cover them with a damp towel or cloche to keep them from drying out and to protect them from pests.
When placing the cheeses on the platter, it’s nice to follow tradition and lay them out the way they should/could be eaten: mild to strong. If you’re including any really funky, stinky cheeses (which are delicious), they can be placed away from the other cheeses a bit so the odor doesn’t transfer to the milder cheeses. It’s also customary to include labels so your guests will know which cheeses they’re sampling.
Be sure to include special cheese knives and spreaders on your board. They don’t have to be these fancy ones, though it is nice to invest in a pretty set to pull out for special occasions. A set will typically include a long knife with a forked tip that may or may not have holes on the blade (good for softer cheeses, the holes prevent cheese from sticking to the blade), a spade with a sharp cutting edge (slicing harder cheeses), a pointed fork (chipping aged cheeses and transferring cheese to individual plates), a flat edged “shovel” (for cubing, slicing, and transferring to plates), and small rounded knives (for spreading).
To make things easier (and for portion control!) some cheeses can be sliced, cubed, or crumbled ahead of time for simplicity, but you’ll run the risk of the cheeses drying out, so don’t prep too much at one time.
One last thing, if you’ll be having a cheese board at an outdoor summer party, it’s also a good idea to have some kind of screen to keep pests out.

Post a Comment