This post created by MomDot was sponsored by Martinelli’s. It was originally posted on Mom Dot on December 8, 2016.
I love this time of the year; bells are ringing, lights are blazing and vacation is just a hop away! And one of the things I love the most, specifically being a creative type like I am, is the gorgeous decorations that seem to adorn every tree, door, and table. Now its true that this season is ruled by the big red man. Whether you are a traditionalist with green and red decorations or more of a winter wonderland theme, Christmas throws up on the last half the year like it has the flu. And then everyone forgets about New Year’s Eve. New Year’s Eve, ripe with possibilities, has just as many with its decor options and if you are ready to celebrate moving into a New Year like I am, here is some inspiration to create a gorgeous New Years Eve Wreath that will remind you of the exciting year to come.

Plus, let’s face it, holiday wreaths are pretty and fun to make.
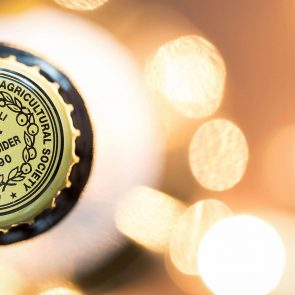
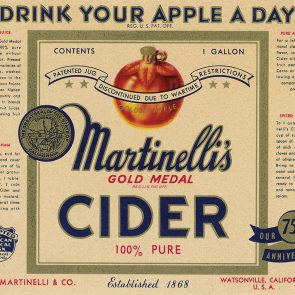
If you are new to making wreaths, it’s not overly complicated but it can take some time. Before you start, you will want to hit up a store and come up with a theme. For my family, I wanted to make a celebratory wreath that brought in the new year with golds and incorporate the “Cheers To a New Year” theme with the beautiful gold labels of Martinelli’s and lots of pretty bulbs and decor. Since the piece was centered around the bottles of sparkling apple cider as they took up the most room on the wreath, I grabbed them first, took a picture of the labels, and headed to the store to find the perfect accessories. From there I found a variety of matching items in the seasonal craft department and added wooden letters, spray paint, and hot glue.

Instructions
- The first thing I did was spray paint my letters gold and then for good measure, sprinkled with gold glitter. I ended up not having the spacing to put the word “Happy” on my wreath. In hindsight, I might have just bought year numbers instead. Once your letters are dry, secure together with hot glue and then turn over and use a popsicle stick to connect the points. This makes sure your letters do not break apart and gives them more stability (image below showing).
- Second, add your bottles. These are going to take up the most room, placing these are important first. After that, start placing all the extra decor you bought, making sure you are not actually gluing anything down. The key here is to make sure you like everything the way it is before you glue down. I changed the look several times before I got it the way I wanted.
- Once I had everything set the way I wanted, I begin picking each item up one by one and securing it with hot glue. Please note that when it comes to your empty Martinelli glass bottles, you need to take special care. I first hot glued the entire back and secured. Then you can wrap around through your wreath some flower or jewelry wire, making sure tight against wreath. In this case, I secured with twine and tied in a knot but will go back and secure with wire before hanging up. I also added the bright gold curly qs inside the bottle tops to make it look like bubbles were coming out of the bottle.
- Lastly, feel free to wrap garland or secure a large bow onto your wreath.
Now your gorgeous New Years Wreath is ready! I tried a variety of places around my house to see where I liked it the most. I believe I will end up putting it on my front door but cannot show that right now as I have a Christmas wreath up.


Post a Comment